I really appreciate it when I'm trawling the net for information on this and that when I come across how to videos and photo tutorials. So I thought I would do a tutorial of how to make hand felted booties.
These little gems not only make great gifts for new mothers but also as Christmas is approaching they also make really cute decorations for the tree made in green and red, like elfs boots.
So let's get on shall we?
You will need some wool fleece ( merino tops ) apron 40g ish less probably
Two lengths of bubble wrap apron 40cm long
One square of bubble wrap 26cm/26cm ish for the model
A piece of A4 paper for the template.
A spray bottle with soapy water in it ( like an old spray detergent bottle)
A bar of soap in a saucer for if you need extra glide.
A glass of water for extra wetness if required.
1/ Template: The one pictured below measures 9.25 inches from heel to heel,2.75 inches across the ankle opening and 4.75 inches from toe to heel.
It is easier to draw and cut your template from a folded piece of paper to ensure both booties end up looking roughly the same.
Cut your model out of bubble wrap cutting round the folded in half template.
you will end up with a double ended boot, this will be cut in half later of form two booties.
2/ layering the fleece: I like to work directly onto bubble wrap with the bubbles facing up. you will need a length of bubble wrap to work on. Lay your model bubbles facing up onto the sheet of bubble wrap you will be working on.
Then tear off wisps of fleece and lay it over the model running in the same direction.
Till you have completely covered it, you need to leave fleece overhanging a little as this will create the seam later.
Using a spray bottle filled with ward soapy water spritz the wool all over, i like to dribble some warm soapy water that i have beside me in a cup over the fleece too.
Now cover with a second sheet of bubble wrap.
Spritz the bubble wrap with some soapy water and press and rub.
You will be able to see through the bubble wrap if all the fleece is saturated, rub for a minute or so then carefully peel back the top layer of bubble wrap. You may find that the fleece is stuck to the top layer and you pull it away, no fear just pat it away and smooth it onto the bottom layer and continue to pull off the top layer.
Put your top sheet to one side for a second and pat the soapy fleece gently, not too vigorously for a minute or so.
Then find the edge of the model furthest away, pinch both sides and flip the model over revealing the uncovered bubble wrap.
Now you need to fold over the excess fleece trying not to crease or wrinkle the model.
Give the folded over fleece a bit of a pat. Then layer this side in the same fashion and direction as the last
Spritz, cover, rub, remove top sheet, pat flip.
Once again fold over the excess fleece and pat.
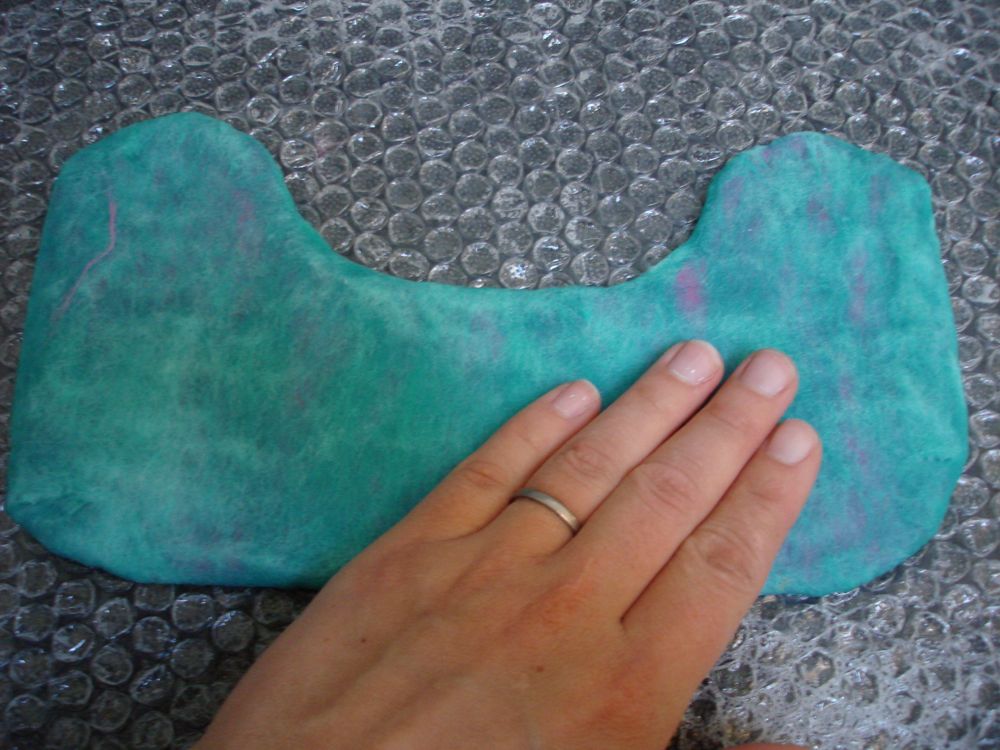
Now your model is completely covered with one layer of fleece this will be the inside color if you are using two colors. Now you need to repeat thte whole process again with the second color or layer.
This time though you will lay the fleece in the opposite direction to help the wool bind together. Spritz, cover,rub, remember to spritz the outside of the bubble wrap this will make it more slippery and easier to rub.
Pull back the top sheet as before, pat and rub very gently. If your fingers do not glide easily over the surface of the wool rub some soap on your hands. find the furthest edges, pinch and flip like before.
Like before fold over the excess fleece and pat. Layer up this side with fleece leaving less excess this time as this is the final side. Spritz, cover,rub.
Peel back the top sheet, pat and rub gently. If you have too much excel you can trim this off with scissors. Don't throw this away as you can use it to make a bead when you are finished ( See my making felt beads tutorial in the archive). Flip over the booties and fold over the small excess.
Now you will pat and rub a little more vigorously you will feel and see the wool fibres binding together. Flip over the booties regularly. Then pick up the booties and rub them between your hands. Be sure to rub the edges all the way around.
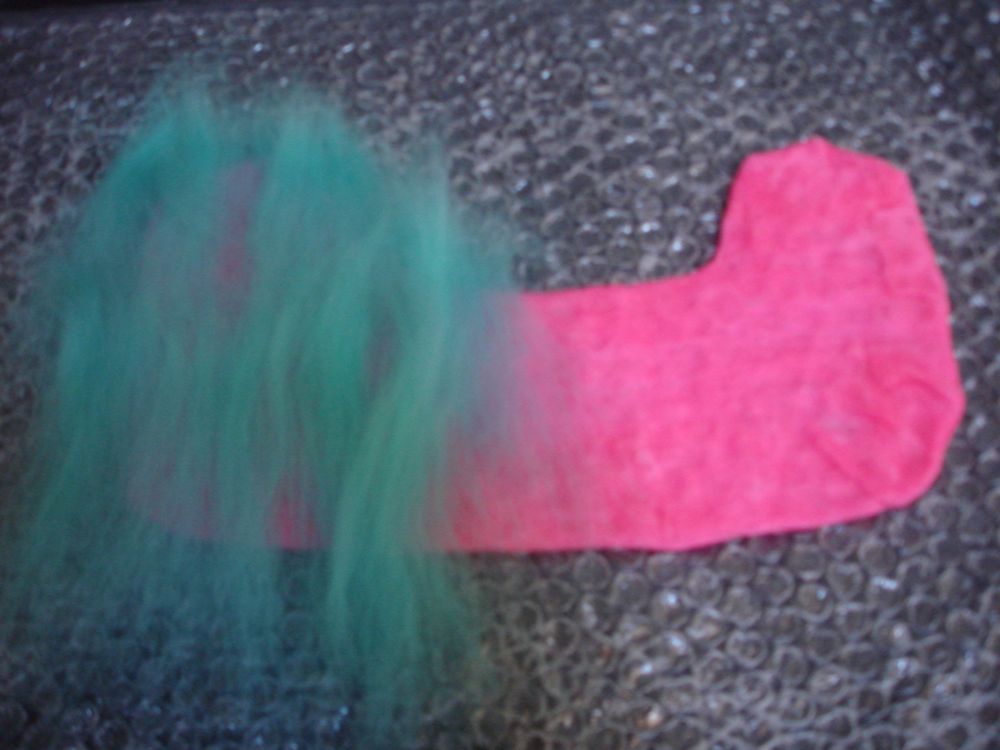
3? This is where the real magic begins. Line uo your booties at the end of the bubble wrap and tightly roll it all up. Once rolled up I like to pick it all up and almost wring the rolled up bootie but you can just roll it on what ever surface you are working on. Do this a few times then unravel. Do the same thing from the other end of the booties. The flip them over and do the same on the other side. Also roll the length of the booties.
You should start to notice the wool really beginning to tighten up now.
Once the wool starts to look like this and you can feel the bubble wrap inside starting to pucker up its time to cut out the bubble wrap inside. But first you'll need to give them a rinse.
So in your sink or a bowl fill it with really hot water, as hot as you can stand and leave the booties in there for a few minutes. Then put them into really cold water for a few minutes. The gently squeeze out the water.
Fold the double ended bootie in half and see if they are even. As you can see mine were a little off, no matter it's part of the charm of something truly handmade.
Now get them as close to exactly folded in half as you can, then with a sharp pair of scissors cut between them.
Remove the bubble wrap from the inside and discard it.
See mine don't look exactly the same this time but the tops can be trimmed later to even them up. now pick up the booties and give them each a good ole soapy rub all over.
now put the booties together and give them a quick roll in each direction. This is important so you get equal shrinkage. Then have a look at them, if one is way bigger than the other roll the bigger one some more.
At this point the wool should be pretty well felted but turn them inside out just to check on the inside. give the insides a good rrub and maybe even a roll if you feel like it.
When the wool looks like its getting a bit wrinkly you know it's getting it's felt on.
When you have rolled the booties enough so that you are happy with the size, shape and felt level give the tops a trim so they are the same height and nice and even...ish.
You will need to felt the edges, you do this by rubbing the edge between you thumb and fore finger with soapy fingers. This will make the tops a bit stiffer and less fuzzy.
I like to make my booties with a fringe, so fold over the top and cut a slit in the front and back of each bootie, then cur out little triangles all the way around.
So it looks like this, this is optional of course. Like with the edges before give the newly cut felt a bit of a rub.
Then rinse you booties in warm water, squeeze out the excess water and leave them to dry.
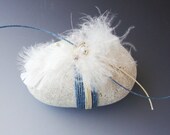
Now thte bits that you trimmed off earlier and the little triangles that you cut to make the fringe don't have to go in the bin. Simply roll them in the palm of your hand to form a ball, ass some soap, keep rolling, slowly at first then faster adding more pressure as you go, you might need to wrap some fleece around it if it splits keep rolling.
Et Voila, for full instructions on how to make felt beads refer to my earlier tutorial on making felt beads.
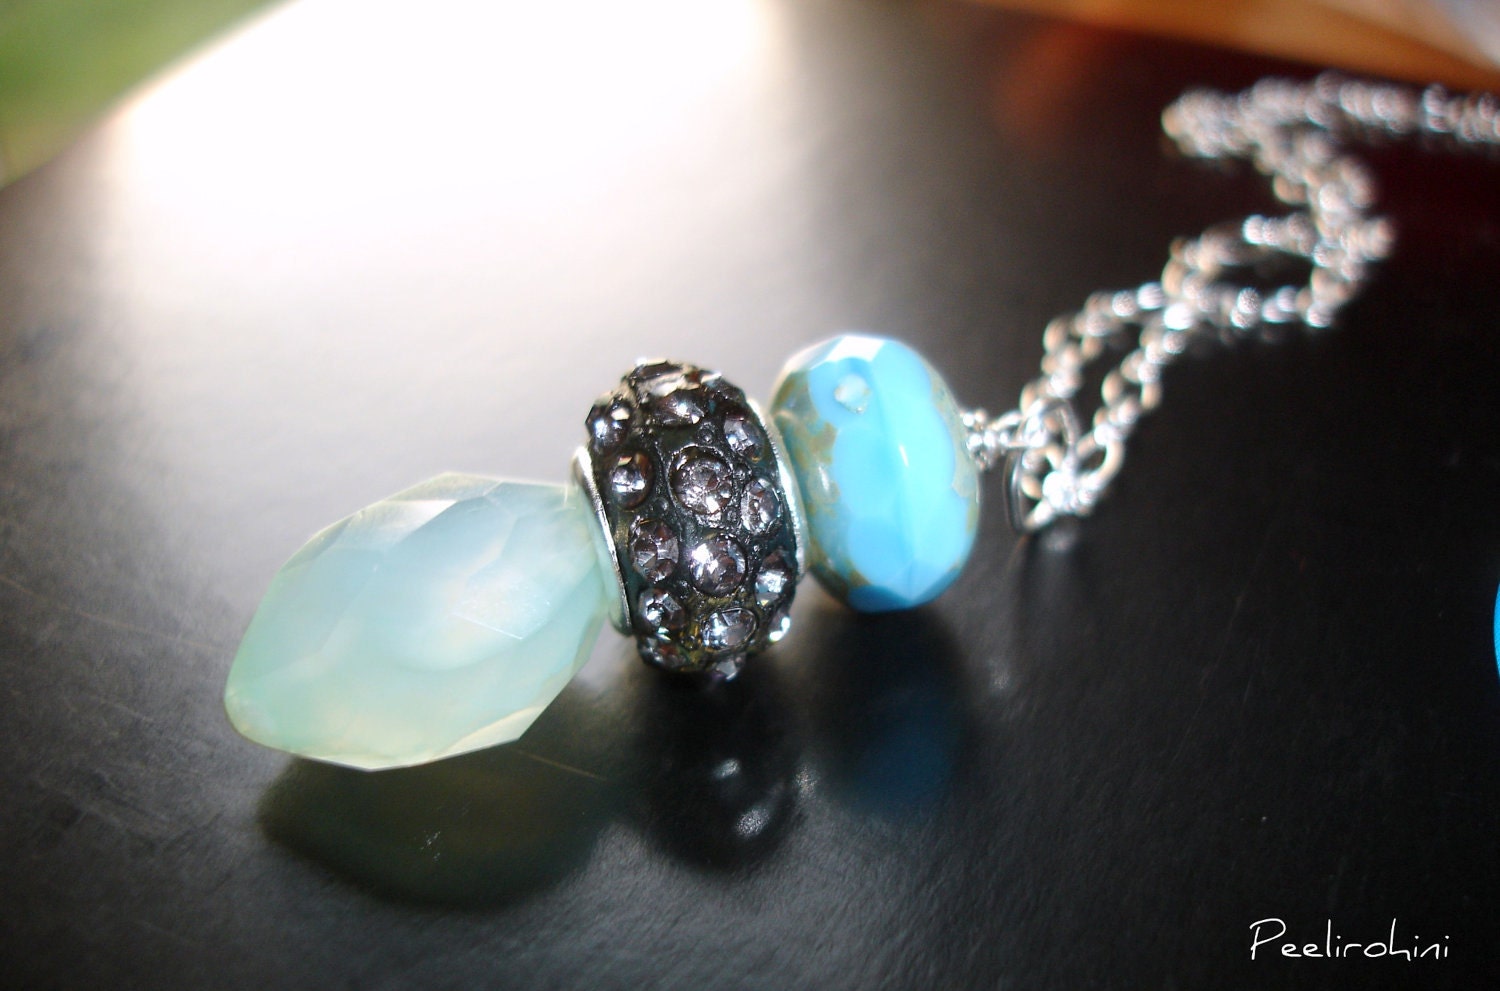
Then when your booties have dried to can dress them up however you like, buttons and bows, beads and balls. BUT do bear in mind that if they are destined to be worn by a real baby you might be safer leaving off anything that can be pulled off and swallowed!
This is how I finished mine off.
I really hope you enjoyed the tutorial and I hope it was comprehensible. Please comment with any feedback you may have. Thanks for reading